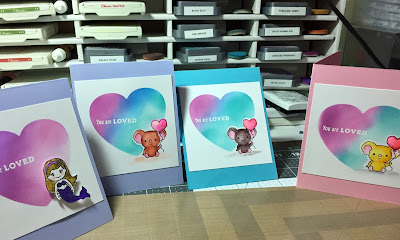
This card began as an attempt to get back my creative muse, which had been hiding for a few days. The card I CASEd was a cute and simple design from Kristina Werner, suggested by Cathy Zielske, Masked Ink Blending and Zig Clean Color Markers.
I set up my supplies as close to hers as possible, given the fact that I didn't own the same stamp set. I did, however, have a brand new pad of Bristol Smooth paper and a brand new set of Zig Clean Color Markers, so I felt ready.
Now, I've done masking before, but in small doses and using masks I've cut from regular paper and lightly held onto as I laid color over them. This time I was excited to use another new product in my stash, Scor-Pal Scor-Tape sheets, which I was sure I'd used for masking once. Not so. The product is wonderful for making die cuts that will hold glitter or embossing powder (which, I remembered too late, was what I'd used it for), but as a mask, well, it actually pulled the cardstock off with it. Since I was set up to make four cards for my four youngest grandchildren, I trashed that one and moved on to the next card. Even though I didn't use it for this project, I've included the link for the Scor-Pal sheets below.
 Using the release paper from the Scor-Pal cutout worked fine as long as I held it down securely with one hand. A little awkward and messy; sturdier paper would have worked better and kept me within the lines (but that's what the sand eraser is for!). I'm going to try out a new product for masking that I'll review in a future post.
I wasn't entirely thrilled with how these cards were mounted. In the end, I used my Cupid's Heart Border die to embellish the bottom of each card. Didn't take a picture of the final result because I was in such a rush to get these mailed, but it did help to balance out the layouts. It also created some fun heart confetti that I sneaked into each envelope for the delight of the grandchildren (and possible consternation of the parents; but they'll get over it). Stamps used in these cards include
The next day I tried again. This time I had in mind an entry into CASual Friday's Hearts, Hearts, and More Hearts Challenge, along with creating a card to send my sister for Simonsaysstamp's Send a Card to a Friend Day. The result was this little penguin holding a heart bouquet.
I masked the heart once again with the release paper cut from Altenew's Halftone Hearts Nesting Dies. I sponged in Distress Oxides in Seedless Preserves and Picked Raspberry (I so wanted to write "I Love Lucy" on the unembellished heart!) and stamped the sentiment from the Lia Griffith-Hero Arts Party Time set in versamark and white embossing powder. The hearts were cut from some pink cardstock I've had in my stash forever. I adhered most of them with a dot of Ranger Multi Medium Matte and popped two of them with foam dots.
The penguin got his pink belly with a little watercolor marker in Light Pink. I added the balloon strings with a brush marker and the wayward heart from Pretty Pink Posh. To finish, I put a little Wink of Stella on the hearts, which you can't see here. It's subtle. I think the dry-ish cardstock absorbed most of it!
Lessons learned? Oh, put your balloon strings on before you adhere the balloons; have a mono sand eraser handy when you're masking with material that doesn't stay put; be careful getting Wink of Stella too close to a heart you've colored with Distress Oxides (it re-blended pretty well, though). Those kinds of things. Ultimately, I feel like I'm taking those baby steps back to creativity!
Thanks for looking!
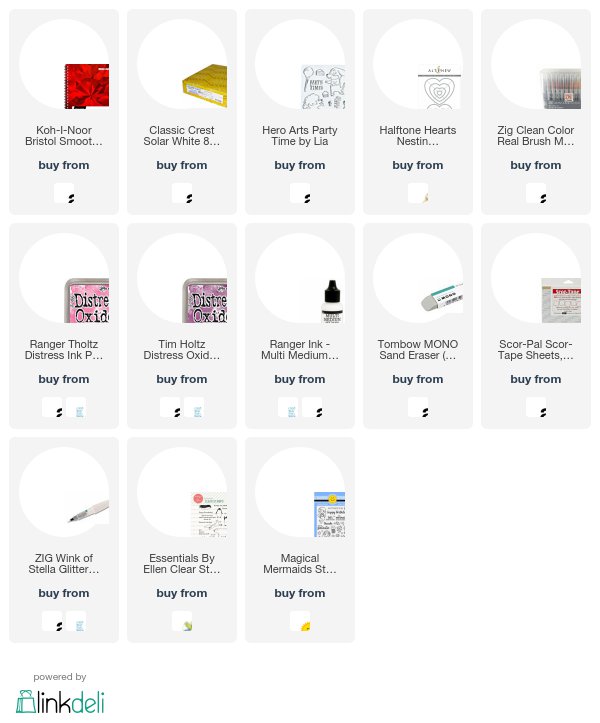
Supplies (affiliate links used at no cost to you):


Awww...super cute penguin with the heart! And, gorgeous color!
ReplyDeleteWow! Love this card! Your creativity is definitely back. Thanks for joining us at Casual Fridays!
ReplyDeleteThank you, Marcia!
DeleteOh my goodness! I LOVE this card! Stunning!
ReplyDelete