Playing along with Simply Less is More's 7th birthday challenge, CAS Dry Embossing. I love embossing of all kinds, especially dry embossing (no mess!) so I was excited about this challenge for that reason alone. Plus, I wanted to use my Penguins in Paradise stamp set from My Favorite Things.
I was also eager to play around with a type of embossing I'd done once or twice, partial embossing. After admiring Anita's awesome design for the challenge and reading her blog post, I found Kristina Werner's tutorial on the process here and went to work trying to figure it out.
Her tutorial is excellent, and shows how to make and use a diffuser to create partial embossing. Simple, right? I cut 4 medium-sized ovals from some poster board scraps and stacked them to make my homemade diffuser, similar to Kristina's. This is all I would need to create a partially embossed effect, I asked myself? It seemed magical!
The only problem was that in my enthusiasm to see the result I didn't pay enough attention to the actual final step: putting the diffuser on top of the closed embossing folder rather than inside it, which is what I did.
After several frustrating attempts resulting in fully-embossed cards, I took a deep breath and went back to the video. I still didn't understand how the magic happened, at least not right away, but then I realized that the "magic" happens because the diffuser presses down on one area of the embossed card, raising the rest of the card out of the embossing area. I think this is physics or something.
Here's the diffuser in place, on top of the embossing folder with the card inside the folder. Science at work. Or play, actually, because this was really fun!
I didn't show the actual steps I took in my final card, but here they are.
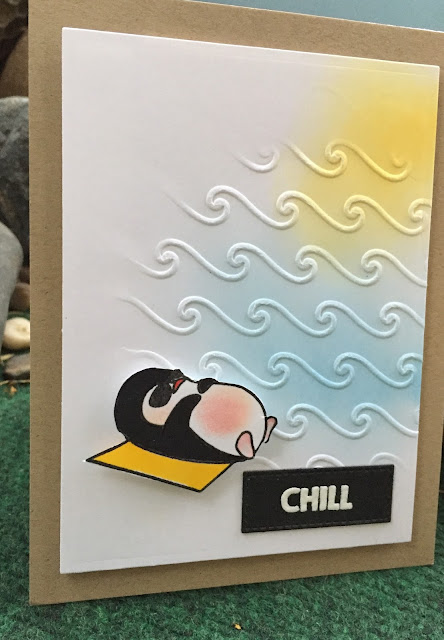
I took a piece of Neenah solar white and smooshed on some Distress Oxides in Salty Ocean and Wild Honey before I did the actual partial embossing.
I adhered that to some Gina K kraft cardstock, which I thought gave it the suggestion of sand, using some foam tape for dimension. I stamped the sunbathing penguin in Versafine onyx ink then heat embossed it with clear embossing powder.
For the penguin's sunburned belly, feet and cheeks I used a little Distress Oxide in Worn Lipstick, then colored the rest of her with Spectrum Noir alcohol markers.
The die cuts for this set are on order, so I fussy cut the little penguin and propped her up with a few foam dots.
The sentiment was also from this set, stamped on black Gina K Designs cardstock and heat embossed in white.
Thanks for stopping by!
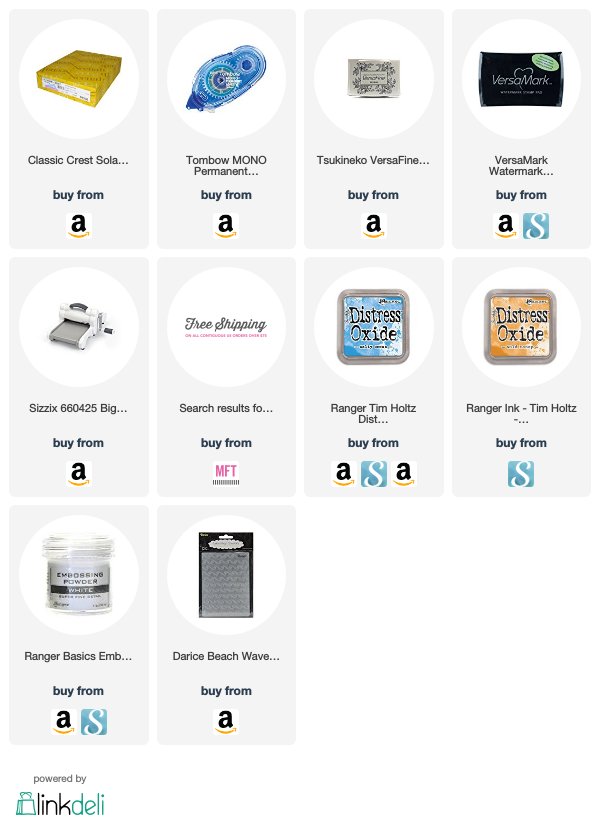
Supplies (compensated affiliate links used at no cost to you):


Such a fun card. Thanks for sharing at Less is More!
ReplyDeleteGreat job with this technique! I definitely want to try this out myself. The embossing folder you chose works really well with the technique and that penguin is a cutie. Love her belly! I hope she wears some sunscreen!! Or is it a he... Who knows! :) Thanks for joining us at Less Is More!
ReplyDeleteThanks for admiring my card and for giving this a go too, Kathy. I did exactly the same as you and had some fully embossed panels and had a few facepalm incidents! This card looks awesome with that wavy detailing. I need to give this another go sometime to see if I can get a crisper shape.
ReplyDeleteThanks so much for sharing with us at Less is More, Anita x